How to make a piggy bank out of paper. How to make a piggy bank with your own hands at home from paper, a can or a box How to make a beautiful piggy bank with your own hands
A very detailed master class on making a piggy bank from a can using decoupage technique.
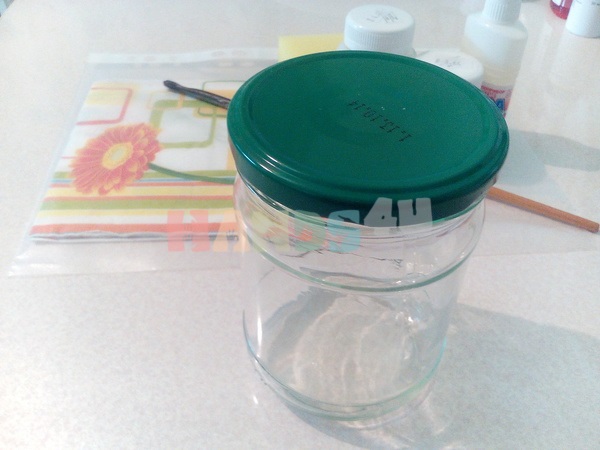
If iron money operates in the country's economy, the piggy bank is an irreplaceable thing! Of course, you can put paper bills in it, but it's not so interesting. You can buy a piggy bank in a store, but it is much more interesting to make it yourself using decoupage technique. For work, you need a glass jar with a lid. If not with a screw cap, you can roll up a regular one. Also take white acrylic paint, a sponge, PVA glue, a file, a spray bottle with water and a napkin with any pattern.
We make a piggy bank from a bank with our own hands like this
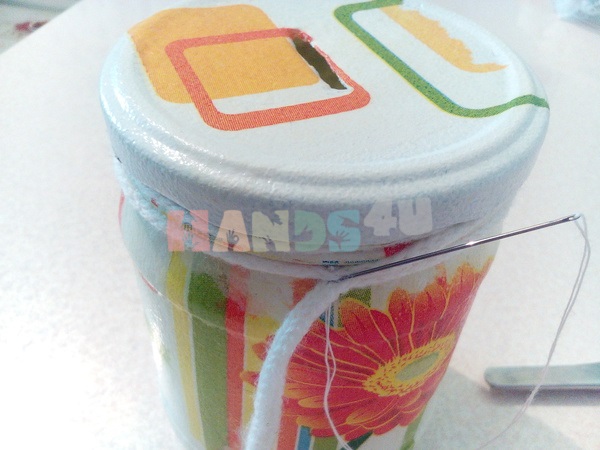
1. From the can you need to wash off traces of glue, remove the label, degrease the surface with alcohol. Make a slot for coins in the lid. Better with a grinder, but a regular kitchen knife will do.

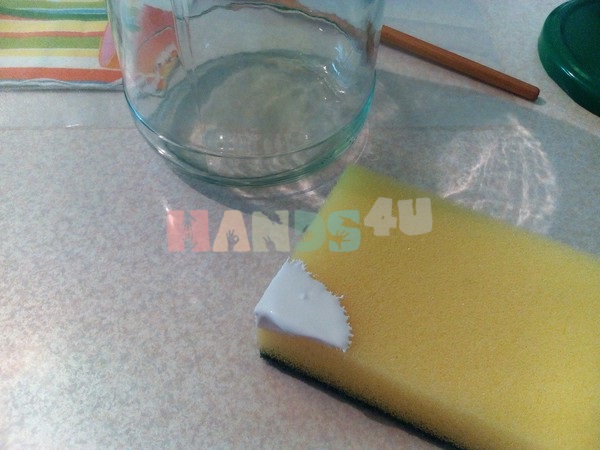
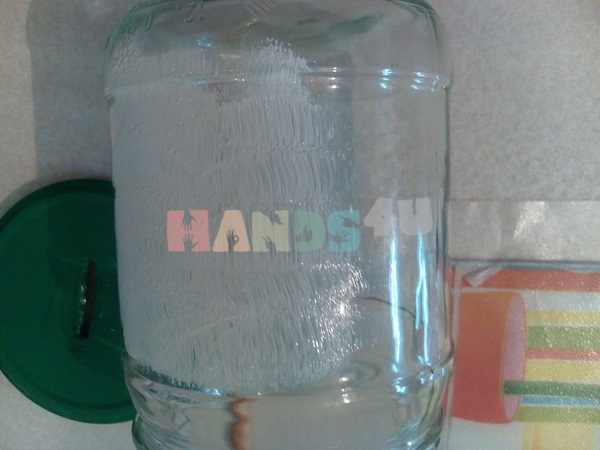
2. Dip a sponge into acrylic paint and apply it to the surface of the jar and lid with “banging” movements. It is important to paint over the entire surface evenly, just make sure that the paint layer is as thin as possible, otherwise it will not dry well. If necessary, you can repeat the procedure 2 times. The main thing is to wait for the paint to dry completely every time! It is optimal to paint the jar and lid in the evening.


3. We pull out the motive we liked from the napkin. It is better not to use scissors, but to carefully pull out the drawing, because the torn edge is less visible on the finished product. For the torn pictures, separate the top color layer. Napkins are available in two or three layers. We are only interested in the one on which the drawing is applied. Be careful not to tear it.


4. Place the picture face down on the file. Sprinkle abundantly with water from a spray bottle. We dilute the PVA glue in half with water and grease the drawing with the resulting mixture. At this stage, the napkin will increase significantly in size, keep this in mind when gluing the picture.


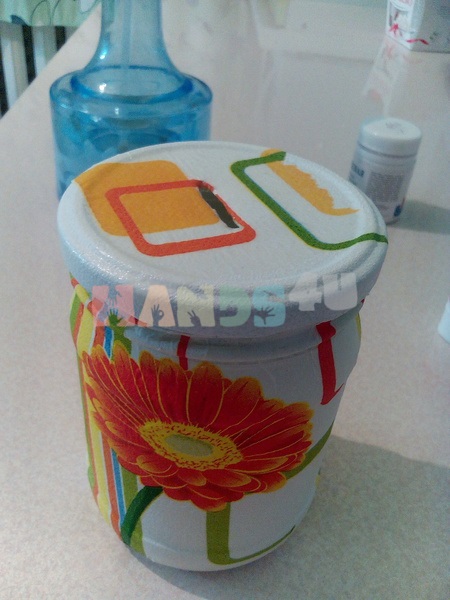
5. Apply the file with a napkin to the surface of the can and gently press it with your fingers along the perimeter. Separate the file. The drawing should remain on the surface of the can.

6. With a dry brush, smooth out the drawing from the center to the edges. It is important to remove all wrinkles and air bubbles without tearing the napkin. If any creases or air bubbles remain on the surface, you can get rid of them in the next step.
7. Let the jar dry completely. You can dry with a hairdryer, you can leave it by the battery, you can turn on the oven for a while, then turn it off and leave the jar there until it cools completely. The main thing is that the napkin is completely dry. If after drying any defects remain, remove them with "zero" sandpaper.

8. Cover the jar and lid with acrylic varnish. You can apply 2 layers, but apply the second one only after the first one is completely dry. It is important.

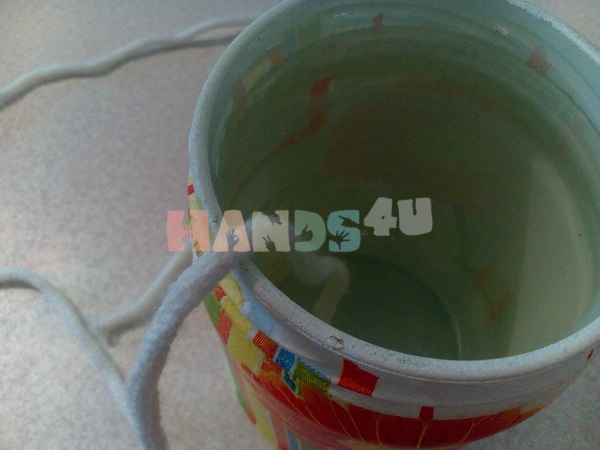
We decorate our jar with a string. You can put a piece of soft cloth or cardboard on the bottom to prevent the coins from clinking too much and damaging the jar.


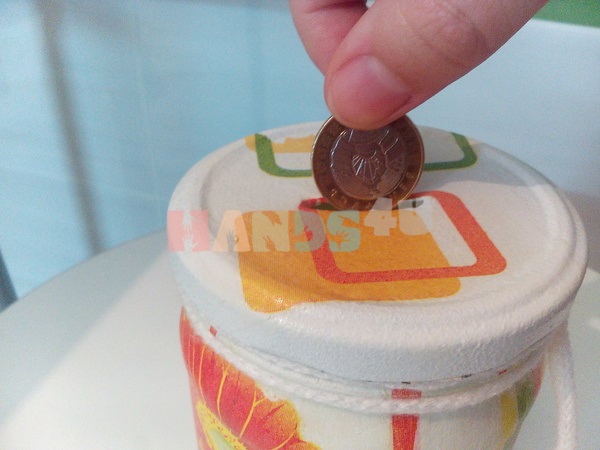
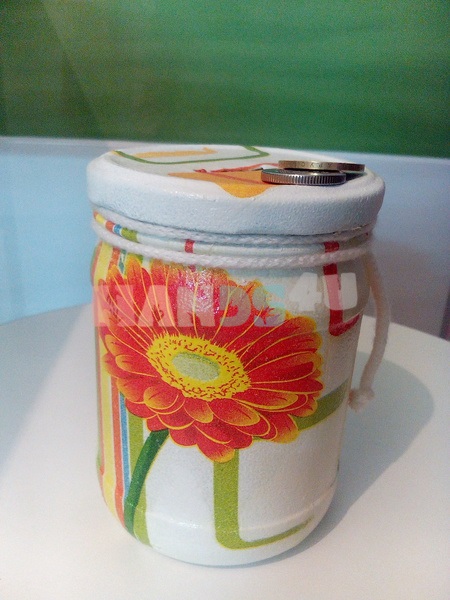
The piggy bank is ready! Collect coins!

Hello everyone, today I have prepared a very interesting and simple homemade product for our site! This homemade product is a simple piggy bank for coins. Our piggy bank will be able to distribute coins by denomination, for example, you threw into our piggy bank first 2 rubles, then 5 rubles and 10 rubles, and each of these coins falls into its intended place for it! I think I already got you interested in this! So get down to business!
And so, after watching the video, you will probably already want to read a detailed description of how to make our piggy bank, but still, if someone has already gone to make a piggy bank, then our instructions will tell you in more detail how to make it!
To do this, we need to cut out glass of a suitable size for you, a couple of flat boards that I left after the repair, barbecue skewers or small wooden blocks, a door hinge, a corner and also we need to cut out just such a piece and make 4 holes in it, small screws. Hot glue and epoxy from tools.


Let's get started!
Next, we need to make such markup on our materials! We measure all sizes as shown in the pictures to get a rectangle)

We cut off all the details that interfere with us!

And we grind it well with a file!

Cut out the back wall to the width of our glass!

Next we need to make the side walls, bottom and top cover!


Putting together a test version of our piggy bank and if everything is done correctly we will transfer it to the finished material!
Oh yeah, I almost forgot! Now we need to make a miracle mechanism that will distribute our coins at face value, for example, if you throw 10 rubles, they get to 10 rubles, 5 rubles to 5 rubles ... and so on.
For this mechanism, we need to take barbecue skewers or small wooden blocks and glue, put our piggy bank frame on the table and glue our block strictly at an angle of 20-30 degrees, and check how our coin rolls! It rolls great, now we need to make a dispenser for our coins, we all know each coin has its own height. For this, we will put height limiters!


This is how we made our coin dispenser, now we can proceed to the design of our piggy bank so that it has at least some aesthetic appearance) and it was not a shame to put it somewhere or something else)!
A piggy bank is not only an accessory where you can throw small change, but also an original piece of decor. The history of the capacity for storing money began several centuries ago, and China and Germany immediately argue for the right to be called the homeland of the piggy bank. Today in stores there are numerous variations of this accessory in the form of all kinds of animals and funny cartoons. But uniqueness in the modern world is valued above all else, so try to create a piggy bank from a bank with your own hands. Surely collecting money in such a container will be doubly pleasant. These step-by-step tutorials will help you create your personal piggy bank and master the decoupage technique.
Textile decor
- glass jar with a lid;
- fabric and ribbons for decoration;
- glue gun;
- scissors and a sharp knife.
Step 1. Paste the jar with a cloth, for this use a gun.
You should not choose a very thin or light material as a finish, as glue can be visible on it.
Step 2. Use a knife to make a rectangular hole in the lid for coins. Then cover the lid with the same cloth as the jar. Make a cut in the center of the can and carefully wrap the material inward, secure the edges with glue.
Step 3. Glue decorative tape around the edges of the lid.
That's all, your piggy bank is ready! You can add details to your liking - rhinestones, sequins, beads. Or place a photo on an accessory, so you combine two decorative items in one at once - a piggy bank and a frame.
Video about making a piggy bank with textile decor:
Piggy bank with a picture
In this master class, the following materials and tools are needed:
- glass jar with a lid;
- white acrylic paint;
- PVA glue;
- sponge;
- file;
- spray bottle with water;
- sharp knife;
- dry brush;
- a napkin with your favorite pattern;
- acrylic lacquer;
- sandpaper M40 (zero).
Step 1. Before starting work, the bank needs to be prepared. If necessary, remove the label, get rid of traces of glue, degrease with alcohol.

Step 2. Carefully cut a hole for coins in the lid.

Step 3. Blot a sponge in acrylic paint and, with gentle movements, evenly apply it to the surface of the lid and jar. The coating should be as thin as possible. After that, let the future piggy bank dry completely and apply the paint in two more layers.

Step 4. Carefully tear off the part with the pattern you like from the napkin. You should not resort to scissors in this case, since the torn edge will be less replacements on the finished product. Then very carefully peel off the top layer of the napkin where the design is applied. It is important to choose an image that is proportionate to your bank. Please note that after subsequent manipulations, the napkin will increase in size.

Step 5. Dilute PVA glue with water in a 1: 1 ratio. Place the napkin face down on the file. Spray well with a spray bottle and apply diluted PVA.

Step 6. This is the most important step in creating a piggy bank. Gently attach the file with a napkin to the outside of the jar, press lightly with your fingers. Then, carefully delete the file.

Step 7. With a dry brush, go over the surface of the napkin. Perform this manipulation from the center outward. Gently smooth out any wrinkles and air bubbles.
Step 8. Leave the jar to dry completely. Remaining blemishes (bulges or creases) can be gently rubbed off with soft sandpaper.

Step 9. To fix the picture, you need to cover the jar with acrylic varnish. Better to do it in 2-3 layers. It is only important to let the jar dry after each application.

Advice! To prevent the coins from damaging the bottom of the can, place some foam or several layers of soft cloth.
Superhero accessory
This option is suitable for those who have a small fan of the world of comics living at home. And the creation of such an accessory will be a great way to have fun and useful leisure activities.

Required materials and tools:
- glass jar with a lid;
- spray paint;
- colored paper or template with a superhero emblem;
- PVA glue or glue gun;
- acrylic lacquer;
- scissors and knife.
Step 1. Prepare the jar. Wash thoroughly, remove label and glue, degrease with alcohol.
Step 2. Use a sharp knife to make a hole in the lid for coins.
Step 3. Apply spray paint to the lid and can. Do the painting in several layers, each time let the future piggy bank dry well. The color of the product depends on which superhero the child chooses. Black paint is suitable for Batman's piggy bank, blue paint for Superman.
Step 4. Cut out the superhero emblem from colored paper or pre-print the template on a color printer, cut and glue.
Step 5. Cover the finished product with acrylic varnish in two layers, each time let the piggy bank dry well.
Superhero emblem templates.


Related videos
Video tutorials to help you make a piggy bank on your own:
An unusual and stylish piggy bank can be made with your own hands from an ordinary tin can with a lid for storing bulk products. For this, special knowledge or skills are completely unnecessary, the main thing is that the hands are at least a little skillful. We will decorate the tin can with strips of paper towels, creating a relief of randomly laid fabric, followed by staining with acrylics, decorating with mother-of-pearl beads, decorative chains and small golden clasps.
To make a piggy bank from a tin can, we need:
- tin can of any size and shape
- roll of paper towels
- PVA glue about 200 gr.
- acrylic paints matte black
- acrylic paint gold
- semi beads
- decorative chain
- small locks
- coins of different denominations
- glue titanium
- hard and soft wide brushes
- black beads (a little)
 First, you need to cut strips of paper towels about 4-5 cm wide. Dilute PVA glue with water 1: 1 in a container with a wide neck. It is more convenient to “work” with a rectangular or square tin can, in the process you will understand the “why”.
How to make a piggy bank with your own hands from a tin can
 Prepared strips of paper towel by
  we lower the queues in diluted glue. Taking out the workpiece, it is necessary to squeeze it slightly, passing it between two fingers. Care should be taken without pressure to avoid tearing the paper. The strip should only be saturated with the adhesive mass, but not soften in it. The resulting strip must be neatly positioned diagonally on a tin can, creating arbitrary folds, like on a fabric. Thus, it is necessary to lay the strips on one side of the can.
  and leave the craft until the glue dries. The opposite side is covered in a similar way. In total, you need to make two or three layers of paper towels to make the piggy bank look solid and stylish.
This is how the blank should turn out:

A completely dried workpiece can be decorated. First, you need to paint it in the base color, for which we take matte black.
Before painting, acrylic paint must be diluted with water in a ratio of 1 part paint: 2 parts water. A wide, soft brush is recommended. During staining, try not to skip creases and fill every millimeter of the future piggy bank with paint.

The paint should now dry completely. It will take about 5 hours. In the meantime, you can start decorating the lid of the piggy bank.
Piggy bank cover decor with coins, semi-beads and beads
First of all, it is necessary to make a bill and a coin receiver from the lid. To do this, simply cut out a rectangular hole with a knife. To equip the piggy bank with locks, cut out a round hole on the sides of the lid and on the piggy bank itself.

Now glue the coins with Titan glue. We apply glue to the coins and place them on the surface of the lid in random order, in the style of a slight mess. We decorate the hole for the money with beads on the floor, gluing in the same way as coins. We “fill” the spaces between the coins with black beads.


The penultimate step in making a do-it-yourself piggy bank from a tin can is the application of gold acrylic paint. This will require a stiff, wide brush.
There is no need to thin the gold paint!
Gold decor is applied to the surface of the folds of the piggy bank trim with light brush strokes, slightly touched by paint. Drying, gold decor on a black background creates the effect of old pure gold, glitters beautifully in artificial light, looks expensive!

