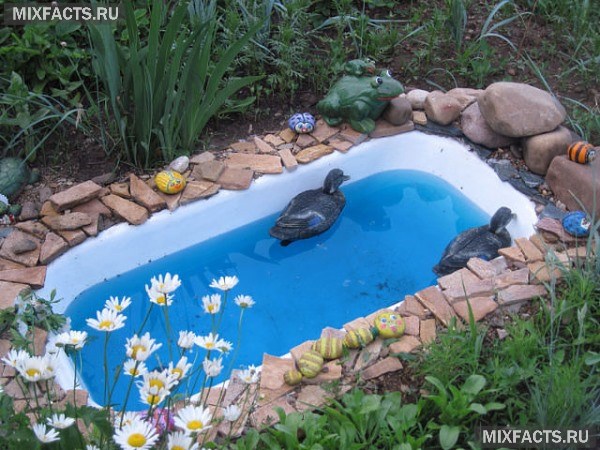
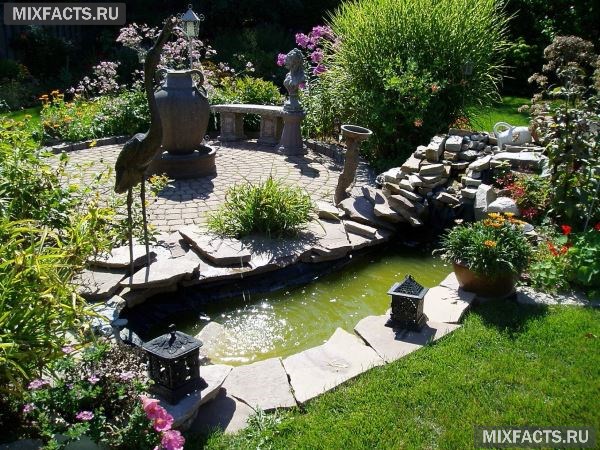
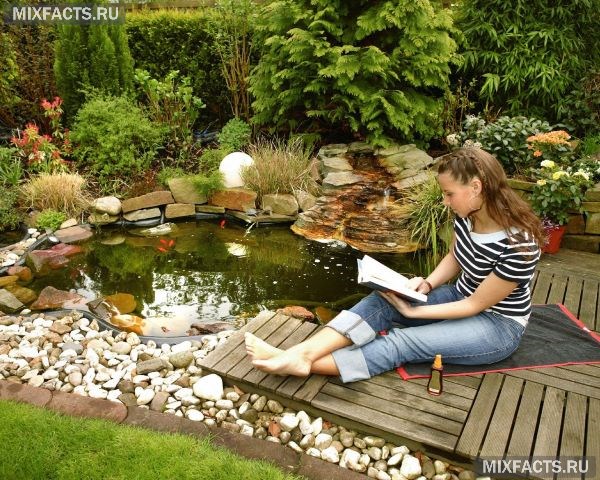
Do-it-yourself bath pond in the country (photo)
I always want the suburban area to be beautiful and cozy. You can ennoble it in different ways, and often it is not at all necessary to spend a lot of money for this. So, for example, you can easily make a pond from a bath in the country with your own hands. You will need a minimum of special knowledge and skills, a sense of taste and two strong assistants. There are a few simple rules to properly install the container. By observing them, you can easily create a beautiful cozy corner in your garden and easily take care of it.
Pond installation procedure
Preparation of tools and materials
First of all, you need to prepare everything that will be required to create a pond. This step should not be skipped, as it will significantly save time and make the whole process smooth. To work you will need:
- Old bath;
- Dark paint or plastic wrap;
- Grinder with a nozzle for sanding the bath;
- Bricks - 4 pcs.;
- Sand;
- Crushed stone or gravel;
- A sheet of thin iron (approximately 70 x 60 cm);
- Shovel;
- Wheelbarrow;
- Level;
- Roulette;
- Bucket;
- The decor is stones and plants.

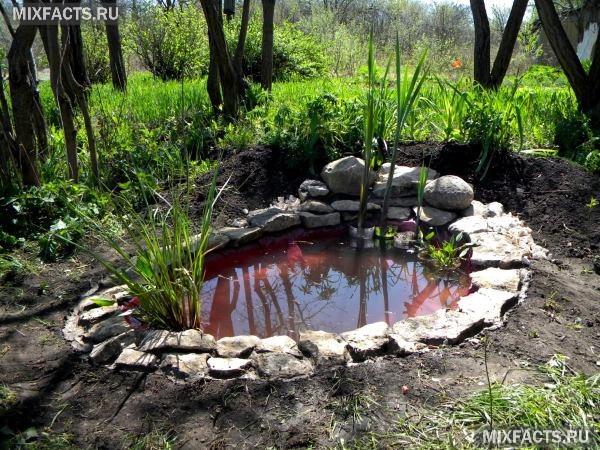
Bath treatment
Now you need to deal with the treatment of the bath. The first step is to cement the side hole. The bottom should be left to drain the water for the winter. Then the inner surface is sanded and covered with dark paint. If you are using a film, then you just need to attach it to the bathtub.
Digging and preparing a hole
To make a pond from a bath in the country with your own hands, you need to dig a hole under it. To determine the size as accurately as possible, put it in the very place where you are going to build a reservoir. Then take the thin pegs and stick them around the perimeter close to the top rim of the tub. You should dig along this contour. The depth of the pit must comply with the following parameters. Calculate it on the basis of placing a 30 cm thick sand pillow at the bottom.The bath, standing on it, should rise 5 - 7 cm above the ground.Thus, the formula is obtained: pit depth = bath height + 23 - 25 cm ...
In addition, you need to dig another hole at the bottom for the drain. It should have a depth of about 50 cm and a diameter of about 30 cm. Next, it is necessary to put a sheet of iron twisted into a tube and fill in gravel. This is necessary so that it is possible to easily drain the water for the winter.
The bottom of the main pit is covered with sand and compacted, and then the sheet of iron is removed from the drain hole.
Bath installation
Now it's time to install the bath. Place bricks in the corners of the pit and place them on top of them. Use level and adjust heights. Then, along the edges of the tub, pour sand into the remaining holes between its walls and the ground.
Decorating
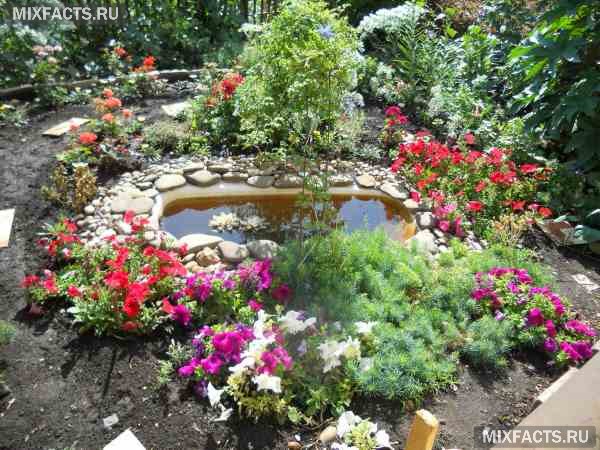
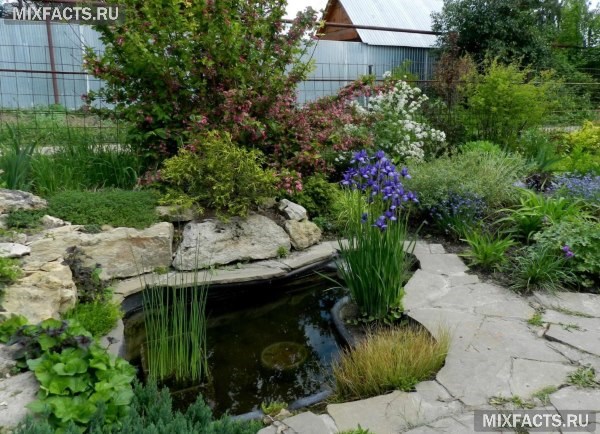
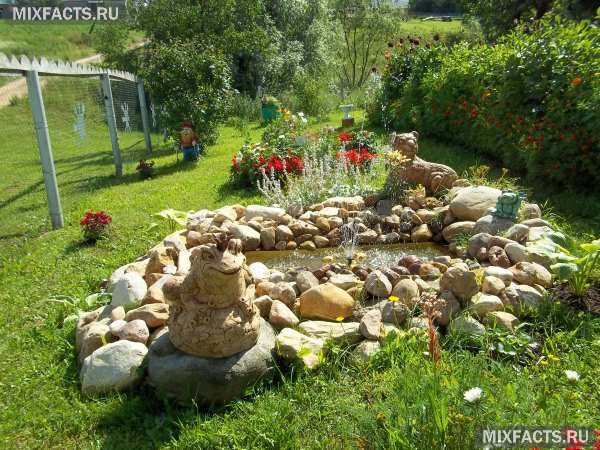
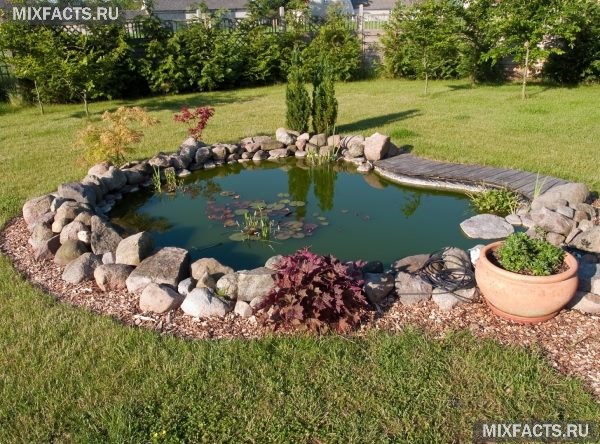
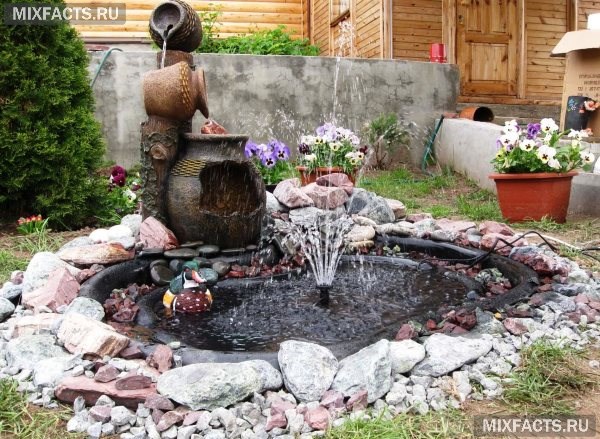
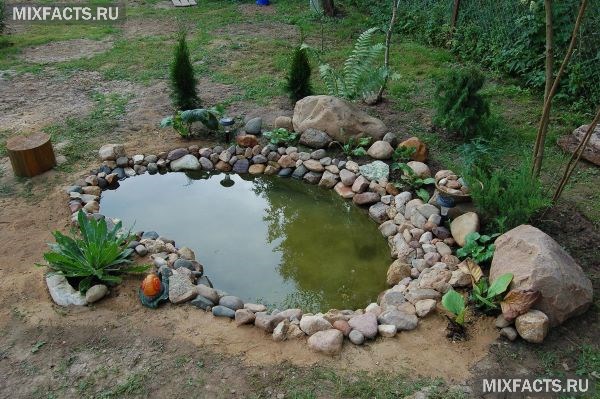
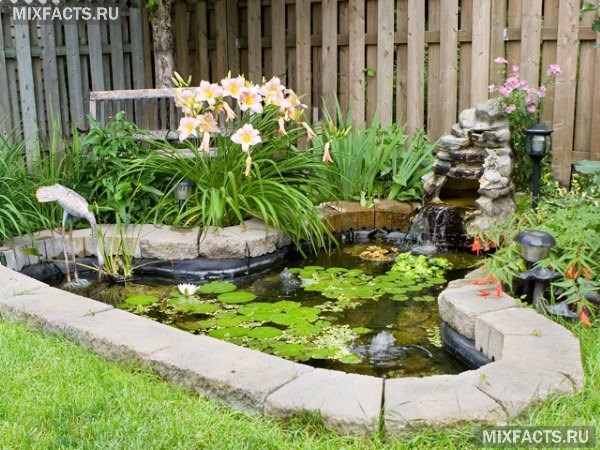
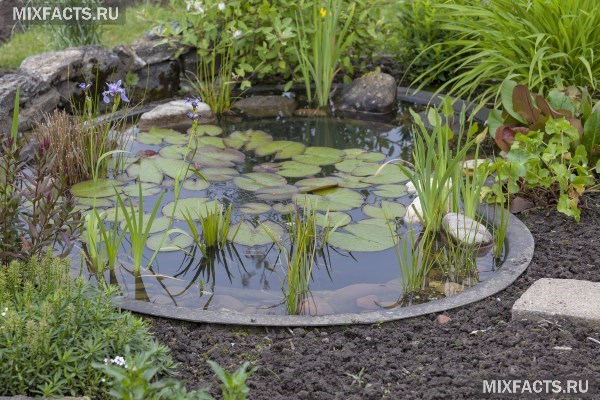
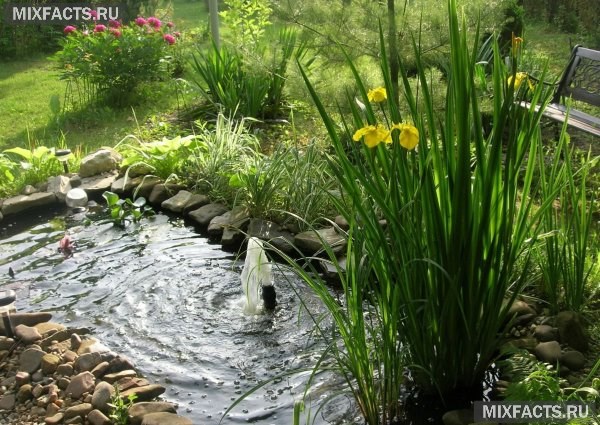
The pond is almost ready. It remains to decorate it and fill it with water. For decoration, stones of various shapes and sizes are most often used. In this case, it is best to lay them out along an uneven contour in order to divert attention from the characteristic outlines of the bath. It is best to sketch out a rough sketch in advance.
As for ornamental plants, you can plant them not only around the pond, but also right in the water - there are special aquatic species for this. In total, the reservoir can be decorated with deep-water (lotuses, water lilies), shallow (marigold, susak, chastukha, hedgehog), floating (duckweed, turcha, pemphigus) and coastal varieties (sedge, cornflower, Siberian peel). The choice of plants is a separate topic. Here one should proceed from personal preferences, the peculiarities of the location of the reservoir and the compatibility of species. Among other things, be sure to study the rules for planting aquatic species, as there are certain secrets here. If you approach this issue with all responsibility, then the pond will delight you with its beauty all summer long.
Bath pond care
A bath pond can become a real decoration of the garden if it is properly looked after. Difficulties in this regard will not arise if you follow all the rules. Everyone knows that stagnant water begins to deteriorate over time and smell foul. To avoid this, you will have to periodically drain it and refill the bath. However, there is one secret that will help prevent this from happening. You need to add 2 to 3 buckets of natural water to your pond. It is home to microorganisms that feed on small algae and thus prevent attenuation. This technique will allow you not to change the water throughout the season, or at least reduce the frequency.
For the winter, it is best to drain the pond and cover it with an iron sheet. This will help prevent deformation of the bath. In this case, the walls should be rinsed, and all plants should be removed from the bottom.
Making a pond from a bath in the country with your own hands is not so difficult. You will spend quite a bit of effort, time and money on this, but you will get a wonderful corner for relaxation. To maintain your body of water in its original form, you need to regularly look after it. The same applies to the entire garden as a whole. If you approach this activity responsibly and with soul, then your site will always look great and bring you a lot of pleasure.