How to make a bath pond
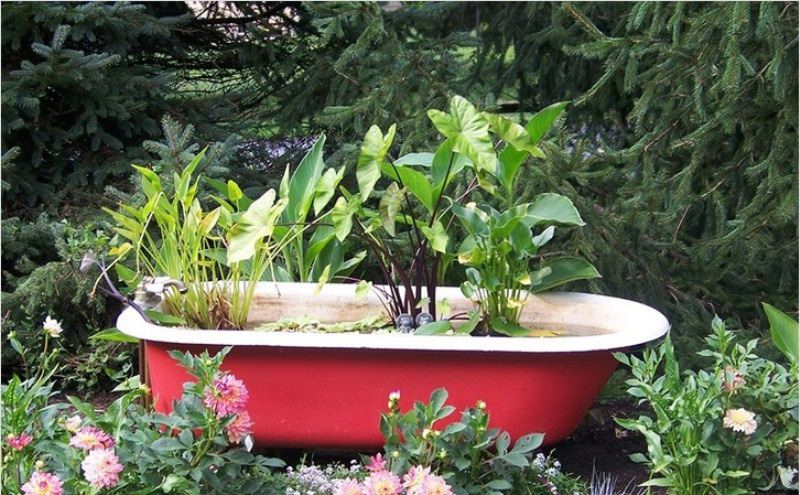
Since it is easy to make a pond from a bath with your own hands, if you wish, you can carry out all the steps yourself, while achieving a good result. A small well-groomed pond from the bath will be a real decoration of any personal plot. Such a decorative reservoir can be equipped independently, using improvised materials. Using various used elements of plumbing, you can even create a multi-level artificial pond from the bath with your own hands, suitable for settling decorative carps or turtles with frogs. It is enough just to figure out how to do everything with your own hands at minimal cost. So how to make a pond out of the bath?
Preparation for arrangement
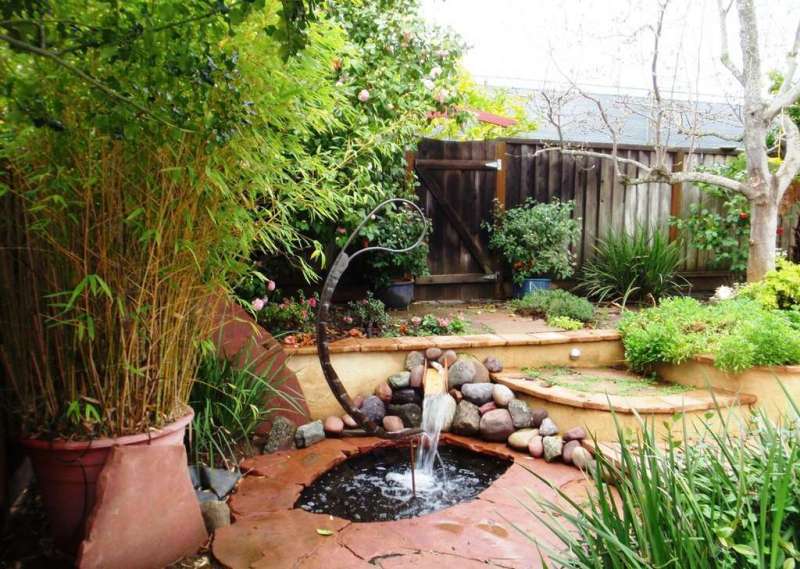
In order for an artificial reservoir to become a real decoration of a summer cottage or personal plot, it is necessary to take into account a lot of important points. First of all, you should choose the right place for the pond. It is best if the pond from the bath in the country, made with your own hands, will not be in direct sunlight. In a bathtub, the volume of water is small enough that it will heat up quickly, which contributes to algae blooms, a decrease in the level of oxygen saturation of the water, and the death of plants and animals settled in the pond from the old bathtub. An area that is too dark is also not worth choosing, since this can also contribute to the death of the existing living creatures. In addition, the location of an artificial reservoir under the trees will cause it to quickly become contaminated with leaves and other debris.
Among other things, drafts will negatively affect the condition of plants and animals living near the pond. Thus, the area near the gazebo, and on the east side, where bright lighting will be present only in the first half of the day, while in the second the water will be obscured by the building, will be the ideal place for the location of the pond. If at some distance from the artificial reservoir there will be trees that can cover the pond in the country at certain hours, this will be nice.
For the arrangement of an artificial reservoir, one old bath may not be enough. If a multi-level structure of irregular shape is planned, a special film will be required. It is also necessary to prepare the tools that will be needed to install all the elements of the future artificial reservoir. The required minimum materials and tools include:
- cement;
- sand;
- crushed stone;
- clay;
- garden wheelbarrow;
- Master OK;
- shovel;
- mesh to form;
- a large old saucepan;
- special waterproof glue;
- bucket;
- concrete mixer;
- building level.
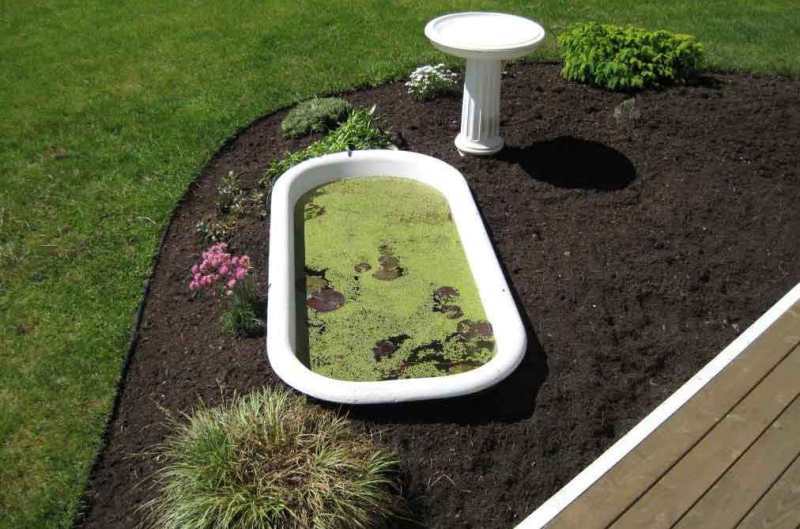
If it is planned to manufacture a conventional pond without additional bends and uneven edges, the task is greatly simplified. In this case, it is necessary to prepare the place, and in addition, to carry out the initial decoration of the bath before installing it. First of all, you need to turn the bath over and circle its contours. In addition, it is required to draw an additional contour at a distance of at least 20 cm. Next, you need to dig a hole, the height of which will be 25 cm higher than the bath itself. At the bottom, another hole should be dug from the side of the lower drain, the depth of which should be about 40 cm.
A perforated pot filled with gravel or crushed stone should be installed in an additional hole. All excavated earth can be removed with a garden wheelbarrow, since it will not be needed to equip the pond. About 5 cm of gravel or crushed stone and the same layer of sand are laid at the bottom of the pit. The process of primary decoration of the bath involves covering the top drain with cement mortar and treating the walls of the container with special glue mixed with coarse sand. Next, 4 bricks are installed at the bottom of the pit. The prepared bathtub is mounted on them so that the lower drain is above the drainage funnel. It is very important to check the evenness of the sides using the building level. Sand should be carefully compacted into the holes on the sides.
A metal mesh should be placed on top of the sand cushion. Its edges, on the one hand, should go to the wall of the bath, and on the other, have different outlines. If desired, you can form any irregular outlines. Next, a cement pad should be poured onto the grid. It is necessary to lay large stones, small pebbles and other elements in a cent that has not yet dried up, which will later form a decorative base.
Pond from an old bath (video)
Installation and decoration
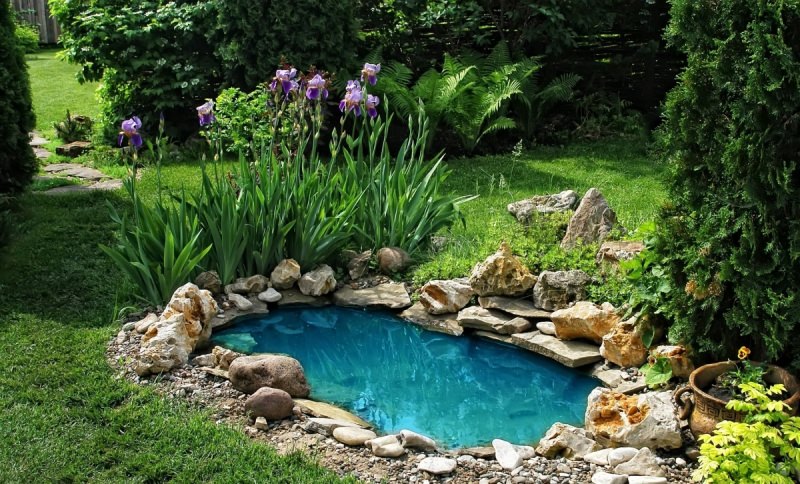
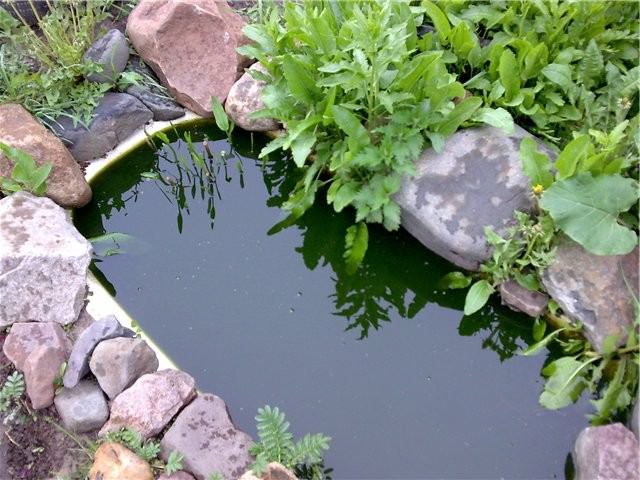
You can start decorating the pond in about 3-5 days, when the cement has completely hardened. In the process of designing an artificial reservoir, you can show your imagination, add decorative elements. The bottom drain must be plugged. Further along the perimeter of the artificial reservoir, that is, at the boundaries of the poured concrete, perennials with spreading leaves should be figuratively planted. You can plant climbing plants, the branches of which can be successfully located at the very edge of the water. Rounded decorative stones should be placed around the plants to create a natural effect.
At one of the edges of an artificial reservoir, you can plant aquatic plants. To do this, fill plastic pots with clay mixed with river sand. Plants that do not soak in water are planted in the resulting substrate. This will allow them to take root. At the bottom of the improvised reservoir, these pots will be located in the future, as well as small river pebbles and large stones.
Now you know how to make a miracle out of a bath.
Pond from a bath in the country (video)
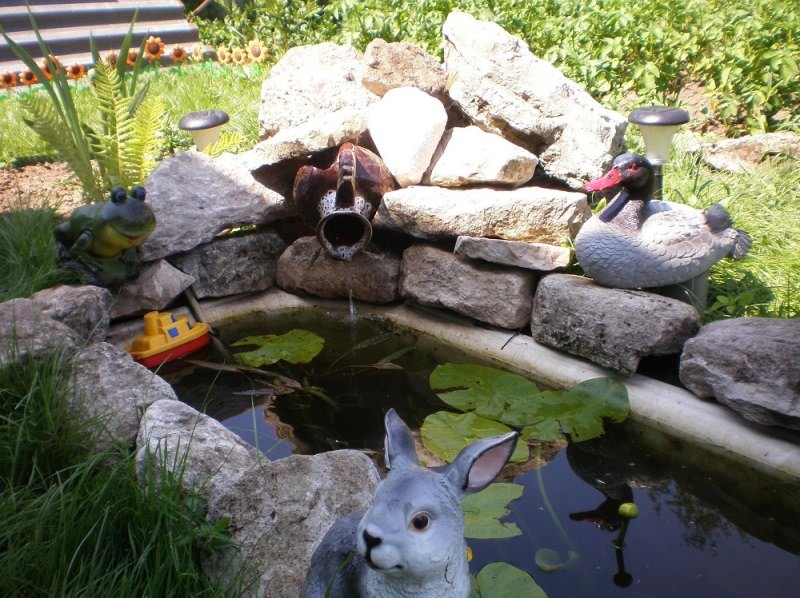
A wide variety of algae species can be planted in a pond from an old bath. In addition, stone crusts can be laid along the banks of an artificial reservoir. The shards of the jug become superfluous. 2-3 weeks after the artificial pond from the old bath is installed, a decision can be made regarding the advisability of placing frogs and other inhabitants there. These are all tips on how to make a pond from a bath in the country with your own hands.